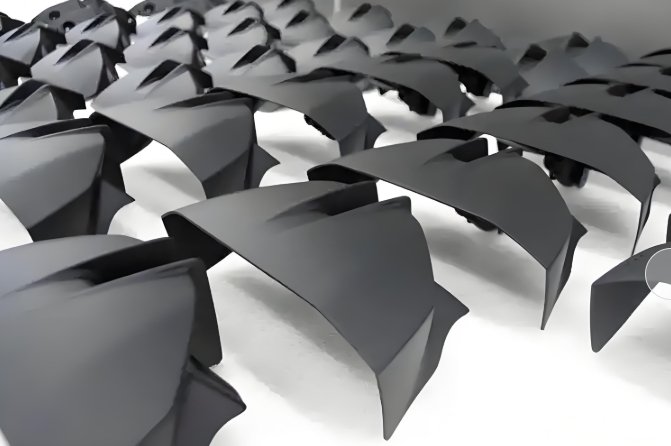
Optimizing designs is critical for Rapid Prototyping. A well-prepared design saves time and money. It ensures that prototypes meet exact requirements. Collaborating with an Injection Mould Company enhances efficiency. This guide shows how to create designs ready for prototyping success.
Understand the Basics of Rapid Prototyping
Rapid Prototyping builds models fast. It uses advanced technologies like 3D printing and CNC machining. Prototypes test functionality and identify flaws. Clear design preparation ensures smoother prototyping.
Benefits of Optimized Designs
Faster Prototyping
Optimized designs reduce production time.
Lower Costs
Accurate designs prevent material waste.
Better Functionality
Refined models perform as intended.
Enhanced Collaboration
Clear designs improve communication with an Injection Mould Company.
Key Design Optimization Tips
1. Simplify Your Geometry
Avoid overly complex shapes. Simplified designs process faster.
2. Choose the Right Materials
Select materials suited for Rapid Prototyping. Work with your provider to decide.
3. Plan for Post-Processing
Consider finishing processes like sanding or painting.
4. Maintain Wall Thickness
Keep walls uniform. Thin walls might break.
5. Add Draft Angles
Draft angles ease mold removal.
Collaborating with an Injection Mould Company
Design Validation
They review and refine your CAD files.
Material Recommendations
They guide you on durable and cost-effective options.
Production Expertise
Their insights optimize manufacturing.
Scalable Solutions
They prepare your design for large-scale production.
Common Design Mistakes to Avoid
Overcomplicated Details
Small details may not print well.
Ignoring Tolerances
Set realistic tolerances for parts.
Skipping Tests
Always test small sections before full production.
Neglecting Orientation
Part orientation affects strength and accuracy.
Tools for Design Optimization
CAD Software
Use advanced tools like SolidWorks or AutoCAD.
Simulation Software
Simulate stress and functionality digitally.
Material Libraries
Explore properties of materials for better choices.
Prototyping Guides
Follow industry standards for Rapid Prototyping.
Case Study: Optimizing a Medical Device
A company needed a surgical tool prototype. They partnered with an Injection Mould Company.
Challenges
The initial design was too complex. Material choice was unclear.
Solutions
The team simplified geometry. They selected lightweight, durable plastic. The mold maker added draft angles for easy production.
Outcome
The optimized design reduced costs by 30%. Prototyping time dropped by 20%.
Steps to Optimize Your Design
Step 1: Define Your Goals
Know your prototype’s purpose.
Step 2: Create a Basic Model
Start with simple shapes. Refine gradually.
Step 3: Collaborate Early
Involve your Injection Mould Company during design.
Step 4: Test and Iterate
Print small sections. Identify and fix issues.
Step 5: Finalize for Production
Prepare your design for scaling.
Advantages of Working with an Injection Mould Company
Professional Expertise
Their experience ensures precision.
Reliable Materials
They provide high-quality material options.
Quick Turnaround
Efficient processes speed up delivery.
Long-Term Partnership
Work with them for future projects too.
Future Trends in Design Optimization
AI Integration
AI will create better designs faster.
Advanced Materials
New materials will enhance prototypes.
Cloud Collaboration
Teams will work together seamlessly online.
Faster Prototyping
Machines will keep improving speeds.
Design optimization is key to Rapid Prototyping success. Simplified geometry and correct materials save time and money. Partnering with an Injection Mould Company ensures quality results. Follow these tips to create efficient, functional prototypes.
Ready to start? Optimize your designs today!
