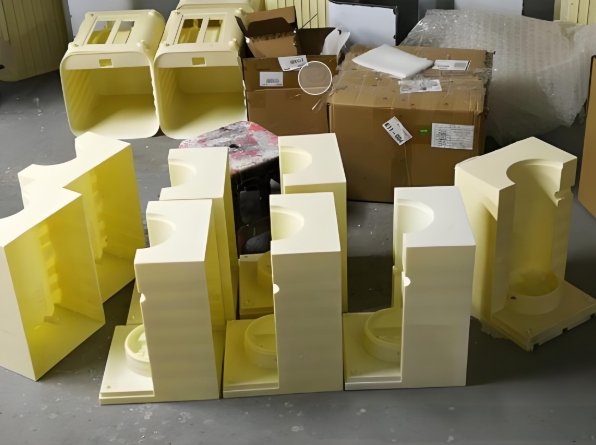
Rapid Prototyping requires well-prepared files. Accurate files mean better prototypes. An Injection Mould Company ensures the process goes smoothly. This guide explains how to get your files ready.
Why File Preparation Matters
Accurate Prototypes
Clean files ensure precise models.
Faster Production
Well-prepared files save time.
Lower Costs
Fewer mistakes mean reduced costs.
Understanding File Types
CAD Files
Most Rapid Prototyping starts with CAD files. Common formats include STL, STEP, and IGES.
STL Files
These are standard for 3D printing. They describe the surface geometry of your model.
STEP/IGES Files
These files are ideal for CNC machining and injection molding.
OBJ Files
Used for models with detailed textures or colors.
Step-by-Step File Preparation
Step 1: Design with Precision
Use 3D CAD software. Ensure dimensions are accurate.
Step 2: Check for Errors
Run error checks in your CAD program. Fix gaps, overlaps, and missing faces.
Step 3: Convert to the Right Format
Save your file in the format required by your Injection Mould Company.
Step 4: Simplify the Model
Remove unnecessary details. Keep only the essentials.
Step 5: Optimize Resolution
Ensure the file resolution fits the manufacturing method. High-resolution files are better for 3D printing.
Step 6: Add Tolerances
Specify tolerances if needed. Tolerances guide manufacturing precision.
Tips for Successful File Preparation
Use Standard Units
Stick to millimeters or inches. Consistent units prevent errors.
Label Your Files
Name files clearly. Use descriptive names to avoid confusion.
Share Detailed Notes
Include assembly instructions or additional details.
Confirm Material Specs
Communicate the material you want for your prototype.
File Preparation Challenges
Software Limitations
Not all CAD programs export files correctly.
File Size Issues
Large files can slow down processing.
Complex Geometries
Intricate designs may cause errors in manufacturing.
Lack of Experience
First-time designers may miss critical details.
Solutions to File Challenges
Work with Experts
An Injection Mould Company can guide you through the process.
Test File Outputs
Check exported files in a 3D viewer before sending them.
Optimize File Size
Simplify geometry to reduce file size.
Get Feedback
Review your file with your manufacturing partner.
How an Injection Mould Company Helps
File Analysis
They review files for errors and offer corrections.
Format Conversion
They convert files to the best format for their machines.
Tolerance Advice
They suggest suitable tolerances for production.
Material Recommendations
They recommend materials that suit your design.
Common Mistakes to Avoid
Ignoring Wall Thickness
Thin walls can break during prototyping.
Overcomplicating Designs
Complex designs increase production time.
Using Low-Quality Models
Poor-quality CAD files lead to poor-quality prototypes.
Skipping Tolerances
Without tolerances, parts may not fit correctly.
Industries That Rely on Precise Files
Automotive
Designs for car parts must meet strict standards.
Consumer Electronics
Detailed files ensure functional prototypes.
Medical
Accuracy is critical for medical device prototyping.
Aerospace
Precise files ensure safe and functional components.
Future Trends in File Preparation
AI-Assisted Design
AI tools will correct file errors automatically.
Cloud Collaboration
Files will be shared and reviewed online.
Smarter Formats
New file types will improve compatibility.
Preparing files for Rapid Prototyping is crucial. It ensures accurate, efficient, and cost-effective prototypes. An Injection Mould Company can guide you through this process. Follow these steps to save time and achieve better results.
By ensuring your files are ready, you’ll unlock the full potential of Rapid Prototyping. Stay precise, communicate well, and trust your Injection Mould Company for expert advice.
